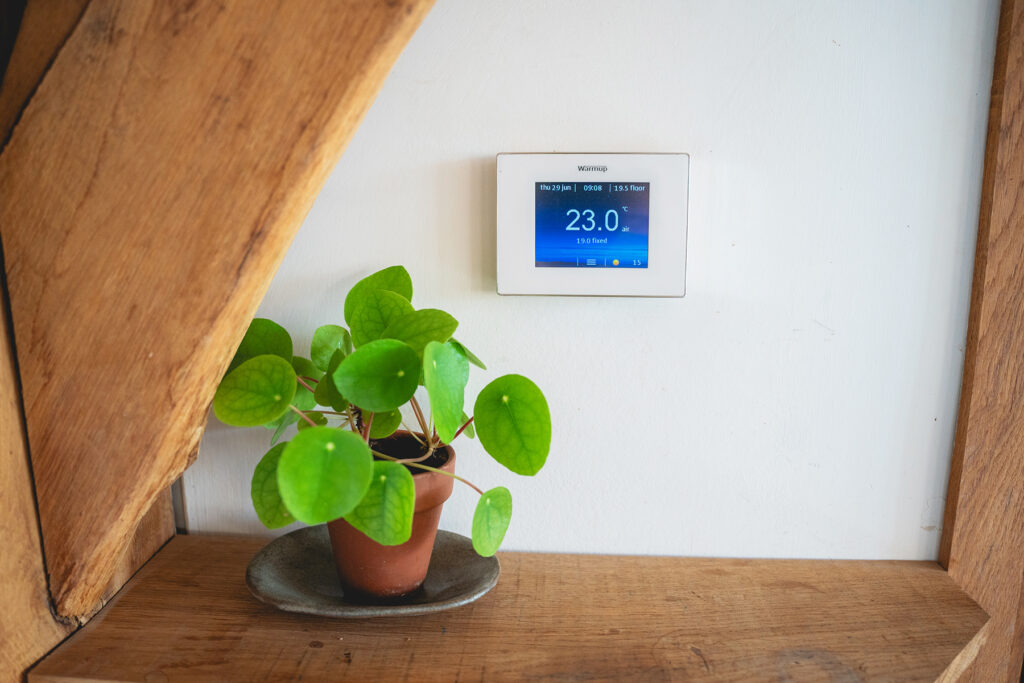
PRO

Organised site visits for architecture firms

We welcome you to come and visit us. The Coppice & Crown team would love to show you around and give you a guided tour of our sawmill and workshop. We are a trading division of UK Hardwoods and can produce more than just wood flooring and interior cladding. If you would like to book a tour, please email us to discuss your requirements, interests and how we can help.

Coppice & Crown tours include:

  • Looking at felled trees and discussing quarter sawn vs plain sawn and rift sawn
  • The milling process
  • The importance of stacking & air drying
  • Why we kiln dry our flooring
  • A guided tour around our award nominated climate controlled glulam timber shed


List of accredited installers

We can recommend flooring installers across the UK who can help lay our floors for your project. If our trusted installers don’t cover your area, we can help you liaise with any contractors you find yourself to ensure they have a solid understanding of the laying process and are a good fit for your project.

Professional Trade & Collaborations

Whether you’re an interior designer, architect, conservation consultant or tradesperson, we’re always happy to discuss your requirements and how we can work together. We love collaborating with like-minded companies and building our media presence, so please email us to discuss any opportunities you think we might be interested in.

After Care

Cleaning and Maintenance

The real beauty of a Coppice & Crown floor lies in its easy maintenance and cleaning regime. The best way to clean your wooden flooring is to brush it freely. You can mop your wood floor, but we suggest limiting how often you do this, using as little water as possible and choosing a product designed for cleaning wood floors.

Pets 

Dogs, cats, snakes, hamsters – they (along with the rest of the animal kingdom) are all welcome on our floors. You may find an excitable Labrador leaves the odd small scratch mark here and there, but we believe this is all part of living with one of our natural wood floors and only adds to its character.

Laying and fixing wood flooring boards

Methods of laying: screws, nails and glues

With planks in random lengths, it’s crucial to ensure you lay out the first three wooden floor planks completely straight to form an accurate starting point. Otherwise, inaccuracies will quickly accumulate and cause problems.

If you are fixing your solid wood flooring boards with screws, we recommend using C2 Tongue fix screws. Use these screws through the face of the board, and they’ll look similar to a nail once screwed in, sitting comfortably IN the board rather than ON. C2 Tongue fix screws have a tiny screw head that looks like a nail once fixed.

Alternatively, you can use nails to fix your wood flooring, although the nails will need to be longer than any screw you may wish to use.

If you prefer to glue your boards, we can recommend a glue that works well for our particular width and length.

Sanding 

We recommend sanding your boards after laying. Sanding our Classic Oak, Ash and Chestnut flooring is easy with an industrial floor sander. Customers don’t always choose to sand our Heritage Oak flooring, but we recommend using a flappy paddle sander to sand into the undulations of each board.

Finishes

You’ll find a plethora of different finishes on the market for your Coppice & Crown wood flooring. It all depends on how you want it to look. We recommend using Osmo Oil for its ease and durability, but we will happily talk you through some other products too.

Preparing your house / project

Moisture

When arranging delivery of your solid wood flooring, please ensure your house/space is as close to ‘lived-in’ conditions as possible. The subfloor and walls must be completely dry when laying solid wood flooring, and the rooms should be warm and well-ventilated. To help you prepare, Coppice & Crown will send through a handy checklist before delivery. Please refer to Table X for the accurate moisture readings required.

Humidity

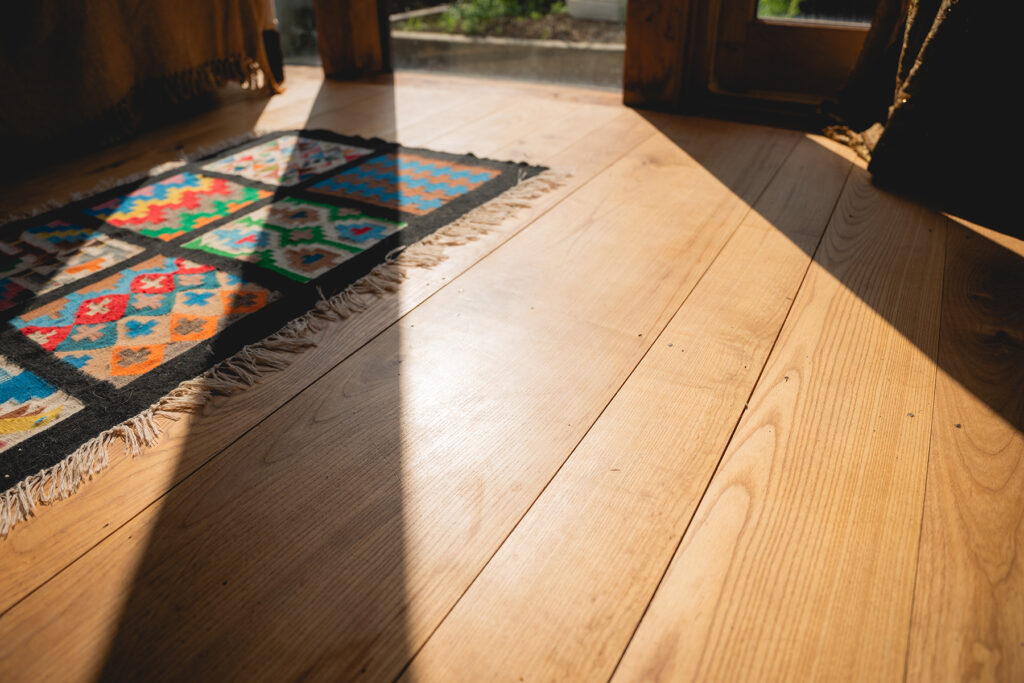
At Coppice & Crown, we acclimatise your solid wood flooring to typical living conditions, ready for laying on arrival. However, if your property has high humidity levels, it can damage your natural wood flooring as each board will expand as it absorbs increased moisture from the air. If there’s no room for the wood flooring to expand, it can cause peaking – where the boards push upwards and create bounce.

If you are in the throes of a new build or renovation project, please carefully consider and plan the time required for the drying phase to prevent project delays and flooring damage. Make realistic timetables during the planning stage, plan the dehumidification process and use the correct type of concrete to avoid high humidity levels and excess moisture.

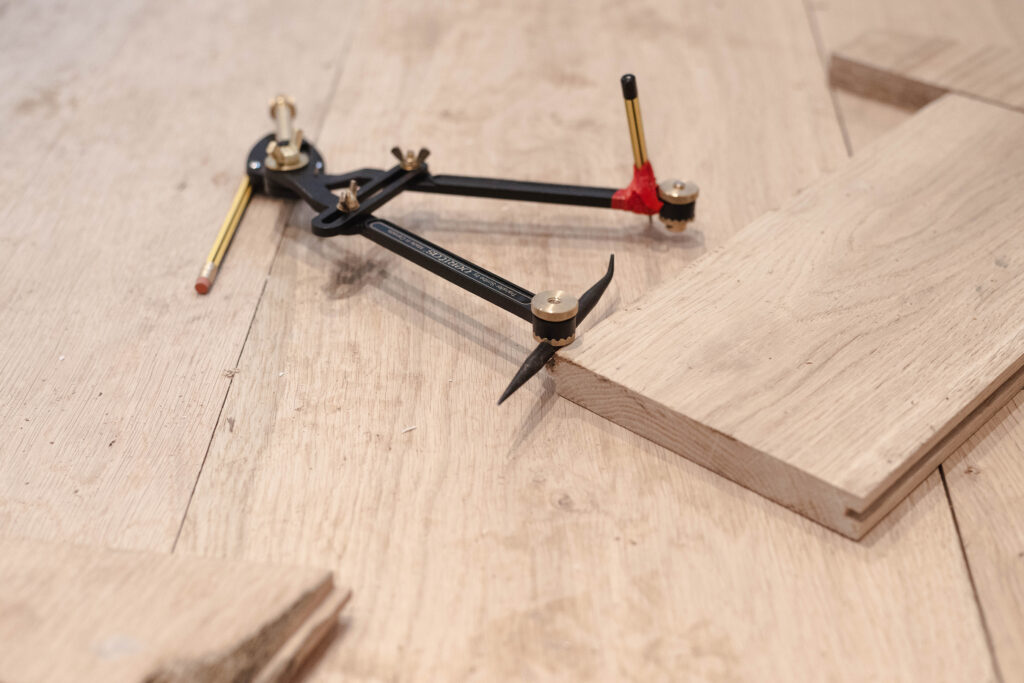
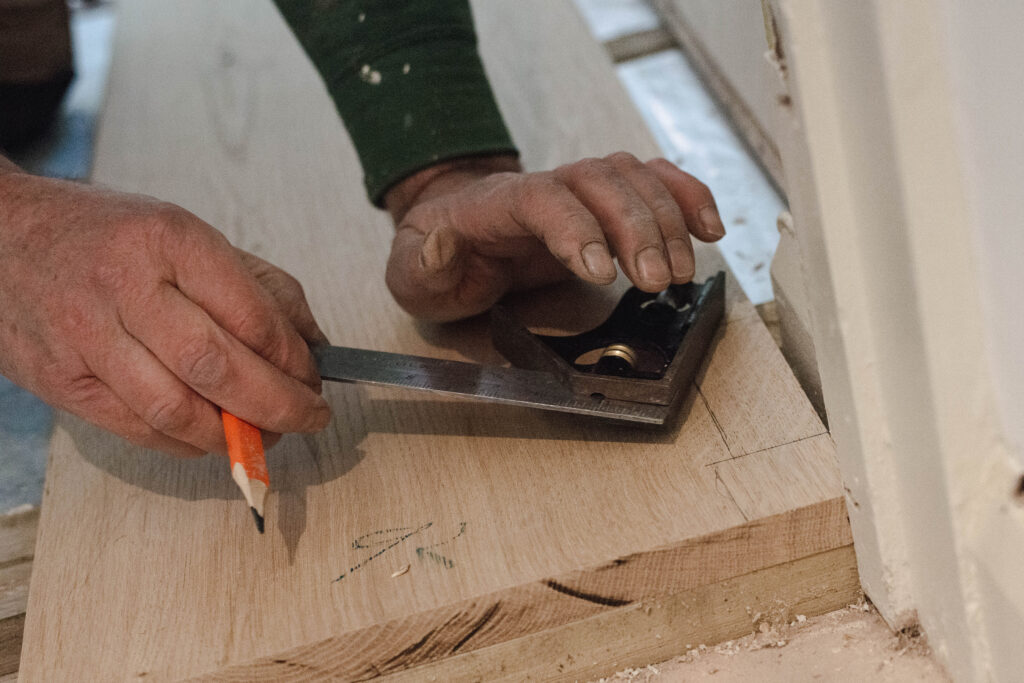
Equipment, Tools and Products you’ll need

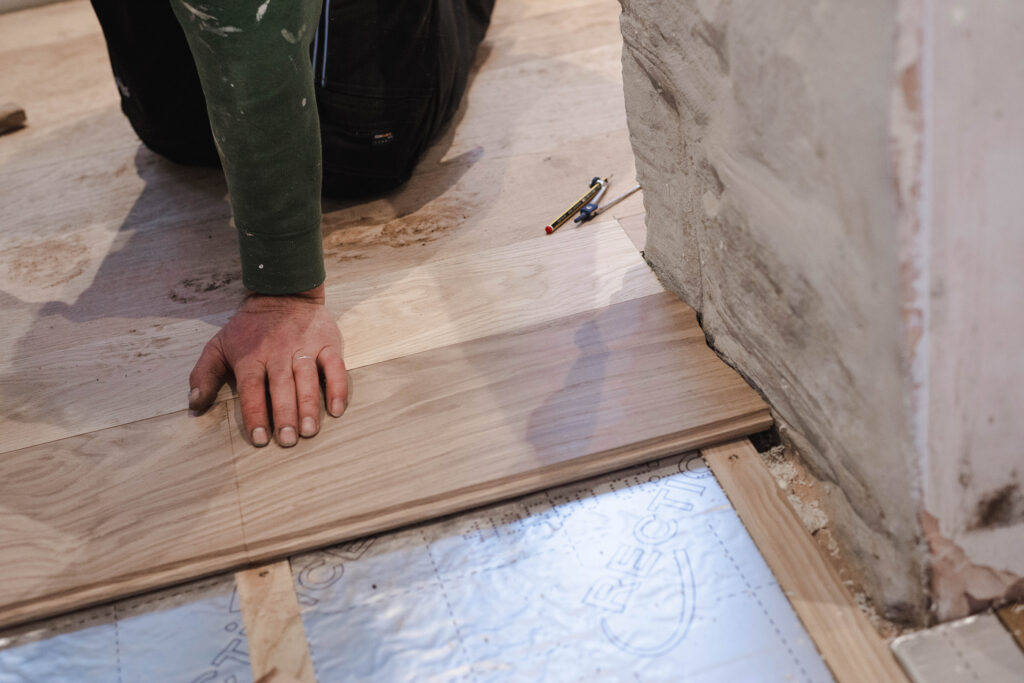
We like to think laying our Ash, Chestnut, and Oak wood flooring is relatively simple. However, depending on your preferred finish, you may wish to employ a carpenter or floor fitter to carry out the work for you. We’re always happy to recommend wood flooring fitters in your area.

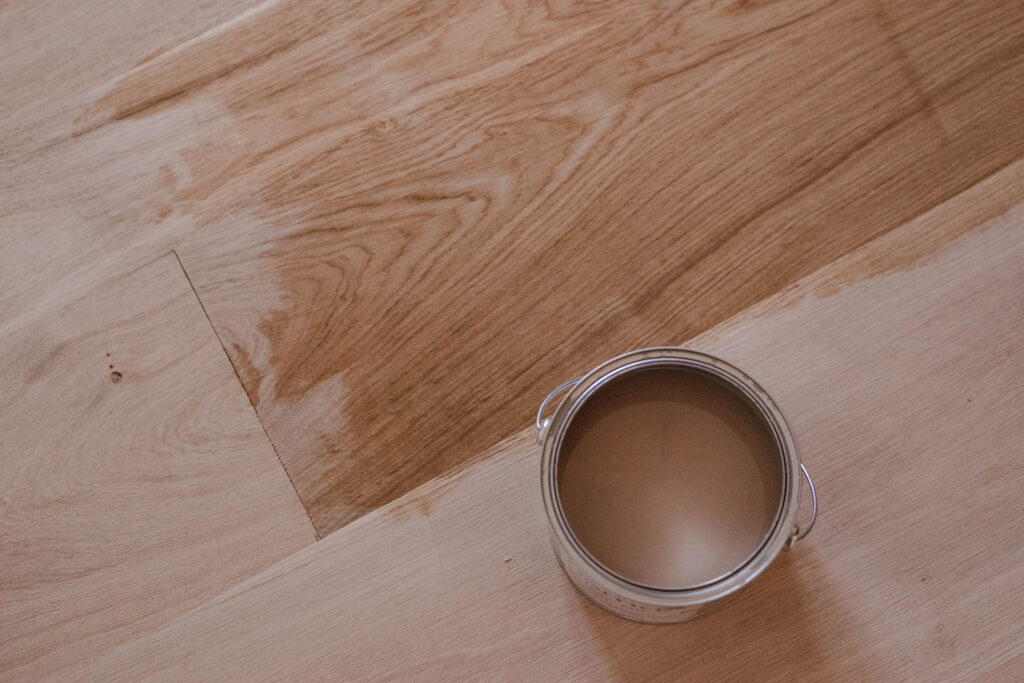
Like any building project, you’ll need specific tools and products to complete the work, including your chosen fixing and finish, ready to apply once you’ve sanded the boards. Again, we can advise you on the best solid wood flooring finish to achieve your desired look.

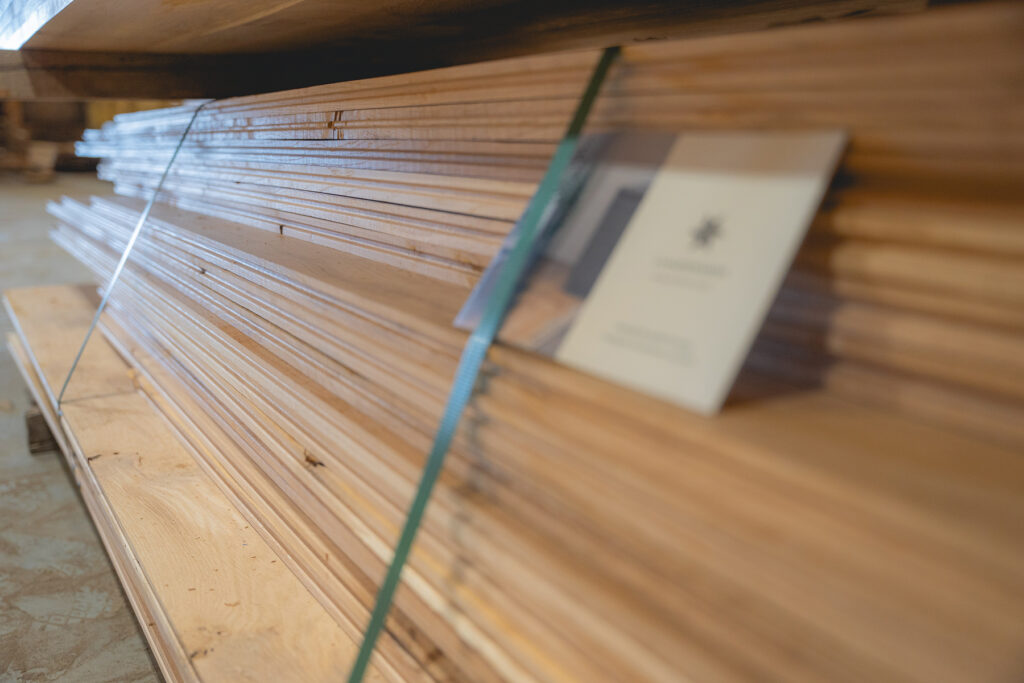
Day of Arrival: Board Numbers & Stacking

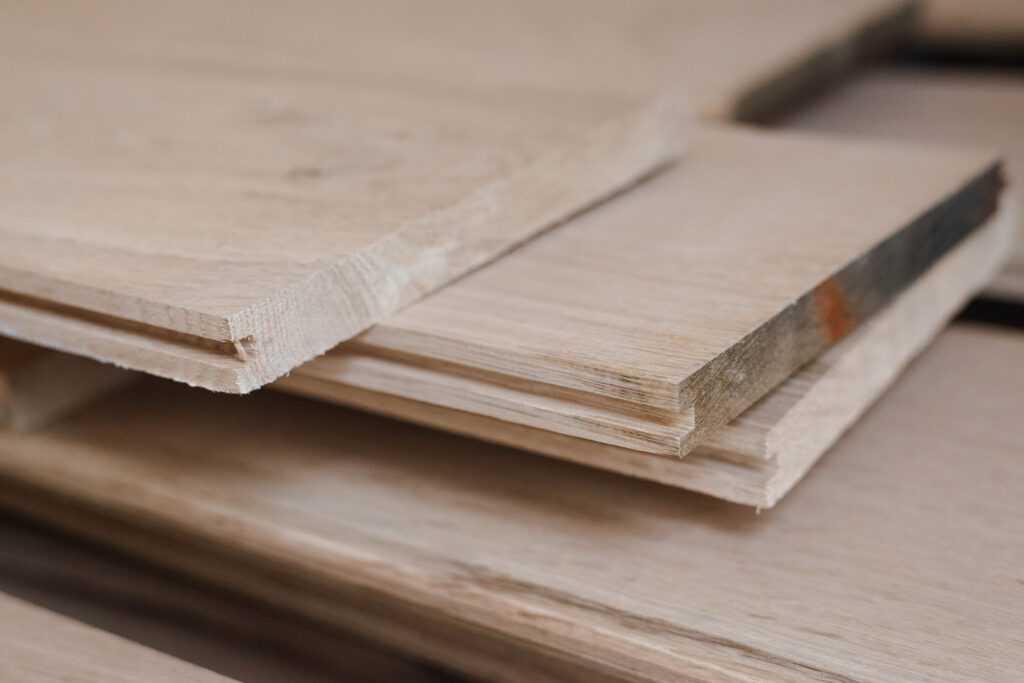
Delivery day is always exciting, but there are a few things you can do to ensure it goes smoothly. First, make sure you have one person per 10 sqm to help unload the boards at your end. If you have chosen our mixed-width flooring, we recommend stacking the boards in the colour of their widths, close to where they will be laid. It’ll make the job of installing your hardwood flooring much easier later.

Please do not stack your beautiful wooden floorboards outside, in a garage or shed.

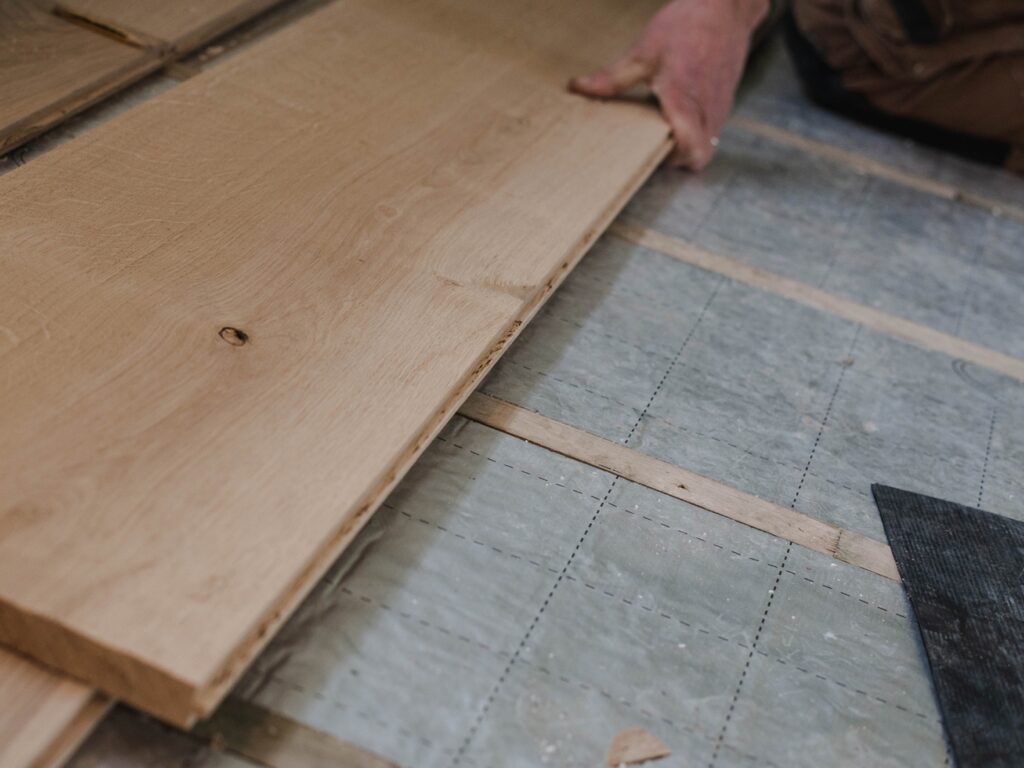
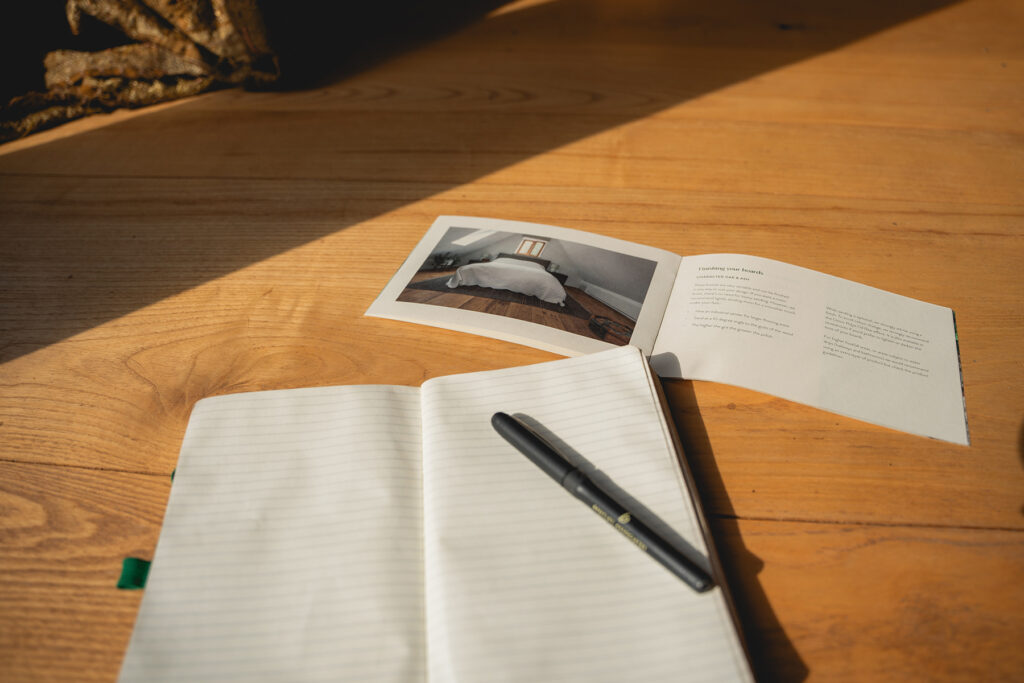
The boards will arrive with blue numbers on the top, which you can easily sand out. These numbers appear on the face side of the board, tell you each board’s square foot, and correspond with the tally sheet sent across with your order. This sheet tells you the dimensions of the boards supplied. It’s not necessary for installation, but it is a useful record.

When handling your planks, always lift them; never pull or drag them sideways over the edge of the plank below. This will prevent you from pulling splinters off the edges or weakening them, causing them to splinter later.

Underfloor Heating FAQs

Do I need to have my heating on constantly?

You don’t need to have your underfloor heating on all the time, but during the winter, we recommend a low constant heat over sudden high heat in short bursts.

Can I see your solid wood floors laid over underfloor heating?

Please visit the links below to see Coppice & Crown solid wood flooring over underfloor heating and be inspired by our clients’ design projects.

https://www.ukhardwoods.co.uk/case_studies/the-old-bakehouse-dulverton/

https://www.ukhardwoods.co.uk/case_studies/granary-barn-stoodleigh/

https://www.ukhardwoods.co.uk/case_studies/five-oaks-north-molton/

Will underfloor heating make my floor crack?

Underfloor heating will not cause your hardwood flooring to crack or split, providing you keep the air humidity between 30% and 60% RH. If the floor’s surface rises above 27°C, then the air humidity of the room can fall below 30RH. Keeping the air humidity above 30% RH is essential to prevent damage to your solid wood flooring.

Will I get contraction gaps between summer & winter when using underfloor heating?

Wood is a natural material and is, therefore, always looking to reach a balanced moisture level compared to the relative air humidity. With an air humidity of 40-45%, the wood will reach an 8% moisture content equilibrium. If the air humidity drops to 30% RH (an extremely low humidity to live in), the wood will reach equilibrium at 6% moisture content, and a contraction gap will be visible.

Coppice & Crown wood flooring is kiln-dried to 9-10% moisture content. Underfloor heating will not cause contraction gaps. However, a high surface temperature can, hence why we reiterate the importance of keeping the surface temperature of your boards below 27°C.

3 methods for fixing solid wood flooring over underfloor heating

Spreader plates – This is the most common way to install solid wood flooring over underfloor heating, and we recommend it for retrofitting if you’ve got a floating floor. Using aluminium spreader plates between the joists will allow the boards to be fixed down to the joists with a physical fixing without damaging or touching the pipes. You can lay the boards directly on the underfloor heating spreader plates.

Battens with screeds – A good option if you are laying new screeds and have worked out your head heights before laying. We recommend laying 45mm x 45mm battens within your screed. As you can see in diagram X, the pipes weave in and out of the screed. The battens should sit flush or slightly proud of the screed. This will prevent the screed from interfering with the boards when laying. The screed must be completely dry before laying any flooring on top.

Solid slab of screed – Choose this option if you’ve already laid your screed with underfloor heating pipes in it. For this, you must glue 30mm x 30mm battens on top of the screen at 400mm intervals. Ply or chipboard can work as an alternative to battens. Make sure the battens run perpendicular to the lengths of the floorboards. You can then lay the boards using a screw or nail to fix them to the battens.

How to fix your wood flooring - physical fixing is recommended

Coppice & Crown’s luxury flooring is crafted from 100% natural British wood, so it’s essential that you physically fix them with a screw or nail to ensure maximum stability. While you can fix your solid wood flooring using glue, you will still require physical fixings for the initial boards you place. You may also need to physically fix other boards while waiting for the glue to set.

Underfloor heating compatibility

Did you know we specialise in luxury wood flooring for underfloor heating? Approximately 75% of our customers lay their wood flooring over underfloor heating. We also favour this method of constant low-level heating rather than using a concentrated radiator to intensely heat only one room area.

Coppice & Crown’s British wood flooring is compatible with underfloor heating thanks to our slow seasoning process from tree to floorboard. It is a common misconception that you can’t lay solid wood flooring over underfloor heating, fuelled by fast process firms that don’t take the necessary time and care to produce their flooring.

Our process takes over two years from tree to board, including:

  • 12 – 18 months air drying
  • 1 – 2 weeks kiln drying
  • Acclimatising in our climate-controlled workshop to ensure 10% moisture content before orders are prepared


Thanks to our slow crafting process, you won’t need to acclimatise your boards at home. We acclimatise them to typical house conditions for you, storing all boards in one of the UK’s only climate-controlled chambers so your solid wood flooring arrives ready for laying

Delivery options

Coppice & Crown offers delivery to customers in the UK & Channel Islands with tailored quotes according to your delivery postcode and order size. We work with a trusted local courier who will collect your order from our yard in Devon and deliver it straight to your door. We recommend you have one person per 10 sqm to help unload the boards at your end. Coppice & Crown may be able to send smaller orders and special requests via Palletforce. You’re also welcome to collect your order from the yard- we’re always happy to see our customers!

Preparation FAQs

Do I need to moisture test everything? 

No – don’t worry. It’s more about checking that your house or property is as close to ‘lived in’ as possible. Builders and carpenters usually carry a moisture tester, so you can always ask them to check if you’re concerned.

Can I store the boards outside or in a garage? 

Please do NOT store your luxury wood flooring outside or in a shed/garage. The Coppice & Crown team will liaise with you in the run-up to your delivery date, and if you aren’t able to store your boards inside and lay them straight away, we can alter the date to meet your needs.

Ordering FAQs

How do I order?

Please order your Coppice & Crown flooring, cladding and any additional accessories via email. We will then send you an itemised quote and request a 25% deposit to confirm your order. Once you’ve paid the deposit, we’ll send over your order confirmation and arrange a delivery date.

What are your lead times?

Our lead times vary depending on the time of year, but we aim for 4-7 weeks from your order confirmation date. We have an impeccable reputation for completing orders on time and offering our customers flexibility on their delivery date wherever possible. Please give us a call if you need to order wood flooring with a short lead time, and we’ll see what we can do.

Can I order my wood flooring 6 months in advance?

Yes – in fact, we prefer it if you do! Coppice & Crown gives customers complete flexibility over when their flooring arrives. Provided you have paid your deposit and confirmed your order, we’re happy to hold it for a few months or as long as you need. Just keep in mind that if we store your order for more than 365 days, we will need to re-price your wood flooring to ensure it reflects our current price list. Please get in touch if you have any further questions.

More about mixed widths

The best and most economical way to order your hardwood flooring (and our preferred method of selling) is mixed widths. We will include approximately 4 (sometimes more or less, depending on the size of the order) different widths. All boards are in 1” increments between 5” and 12”, and we endeavour to include an equal sqm proportion of each size. While we can machine to a single set size between this range, it will be at an additional cost to our standard price.

What measurements do I need?

When measuring your room, we suggest adding 10-12.5% wastage onto your bare room measurements to allow for on-site cutting and any minor inaccuracies during the measuring process. Please remember to measure and include every nook – no matter how small! We are happy to review your plans, but the final square metre calculation requires your confirmation.

Which profile is right for you?

Choosing a profile for your solid wood flooring is simple and will usually come down to the preference of the person laying your floor. T&G and Square Edge are aesthetically the same once laid. However, if there is a scenario where you can see the ends of the boards, you may prefer a square edge profile. Square Edge is considered the more traditional approach, but we’ve found T&G is the most popular choice among our previous customers.

Unsplash
New Client Special Offer

20% Off

Aenean leo ligulaconsequat vitae, eleifend acer neque sed ipsum. Nam quam nunc, blandit vel, tempus.